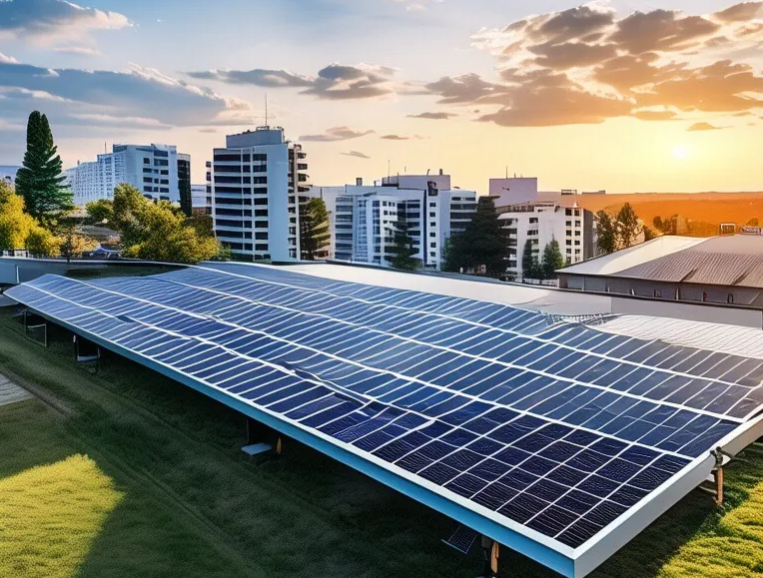
Installing solar panels on your roof is a proactive step towards reducing your carbon footprint and saving on energy costs. Solar panels, also known as photovoltaic (PV) systems, harness the power of the sun to generate electricity for your home. In this comprehensive guide, we’ll walk you through the step-by-step process of installing solar panels on your roof, from planning and preparation to final installation and connection. Whether you’re a DIY enthusiast or planning to hire professionals, this guide will provide you with all the information you need to make the transition to solar power seamlessly.

Maxbosolar Home solar solution – Residential photovoltaic systems power various applications, including lighting, appliances, water pumps, communication devices, charging, outdoor activities, and backup power. These systems offer versatile and sustainable solutions for diverse residential energy needs.
Here are 10-step process for installing solar panels on your roof
Step1 : Assess Your Roof and Determine Suitability:
Before diving into the installation process, it’s essential to assess your roof’s suitability for solar panels. Factors to consider include the roof’s orientation, tilt angle, shading from nearby trees or buildings, and structural integrity. Ideally, your roof should face south and have minimal shading throughout the day to maximize solar exposure.
Step2: Calculate Your Energy Needs:
Determine your household’s energy consumption to size your solar panel system appropriately. You can review past utility bills to estimate your average energy usage or use online calculators to assess your energy needs based on factors such as the size of your home and the number of occupants.
Step3:Obtain Necessary Permits and Approvals:
Before proceeding with the installation, you’ll need to obtain permits and approvals from your local government or municipality. These permits ensure that your solar panel system complies with building codes, zoning regulations, and safety standards. Consult with a professional installer or local authorities to navigate the permit application process effectively.
Step4:Select High-Quality Solar Panels and Components:

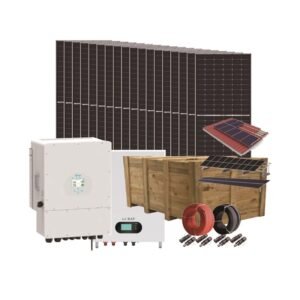


Choose reputable solar panel manufacturers and suppliers to ensure the quality and reliability of your system. Consider factors such as efficiency, warranty, durability, and aesthetics when selecting solar panels, inverters, mounting hardware, and other components. Maxbosolar Home solar solution offers a range of residential photovoltaic systems tailored to your specific energy needs.
Step5:Design Your Solar Panel System:
Work with a professional solar installer or use online design tools to create a customized layout for your solar panel system. Factors to consider during the design phase include panel placement, tilt angle, wiring, and potential shading issues. Optimize your system design to maximize solar exposure and energy production.
Step6:Prepare Your Roof for Installation:
Before installing solar panels, ensure that your roof is clean, structurally sound, and free from debris. If necessary, repair any damaged roofing materials and reinforce the roof to support the weight of the solar panels. Install flashing and waterproofing materials to prevent leaks and protect your roof from moisture intrusion.
Step7:Mount Solar Panels and Components:
Follow manufacturer guidelines and industry best practices to mount solar panels, inverters, and other components securely on your roof. Use appropriate mounting hardware, such as rails, brackets, and clamps, to ensure proper alignment and stability. Take precautions to avoid damaging your roof during the installation process.
Step8:Wire and Connect Solar Panel System:
Carefully wire your solar panel system according to the design layout, ensuring proper connections between panels, inverters, and electrical components. Follow safety protocols and local electrical codes when working with wiring and electrical connections. Test the system to verify functionality and troubleshoot any issues.
Step9:Complete Final Inspections and Testing:
Once the installation is complete, schedule final inspections with relevant authorities to ensure compliance with building codes and safety standards. Test your solar panel system to confirm that it’s generating electricity efficiently and safely. Address any issues or concerns identified during the inspection and testing process.
Step10:Monitor and Maintain Your Solar Panel System:
Regularly monitor the performance of your solar panel system to ensure optimal efficiency and output. Clean the panels as needed to remove dirt, debris, and bird droppings that can affect energy production. Schedule periodic maintenance checks with a professional installer to identify and address any issues promptly.
sum up:
Installing solar panels on your roof is a rewarding investment that offers numerous benefits, from reducing your carbon footprint to lowering your energy bills and increasing your home’s value. By following the steps outlined in this guide and partnering with reputable suppliers like Maxbosolar Home solar solution, you can embark on your journey towards sustainable energy with confidence. Whether you choose to tackle the installation yourself or enlist the help of professionals, the transition to solar power is a tangible step towards a cleaner, greener future for you and your community.